
What the Hack Pt. 2: Mise en Place - A Great Baker’s Pre-flight Checklist
Heads Up! This page and some posts on this site contain affiliate links. This means if you click on a link and make a purchase, I may receive a commission, at no additional cost to you. These commissions help support my work and allow me to continue creating valuable content. I only recommend products and services I genuinely believe in.
Before we whip up any recipes, let’s talk about the offence strategy that separates trying from triumph; mise en place.
The phrase literally means “everything in its place,” and it’s the not-so-secret technique of pro chefs and bakers that makes execution seamless
Everything in its place.
Ignore Prep at Your Peril
Think about learning to drive a vehicle with a manual transmission. Until you master it, there’s gonna be a lot of stalling and bucking. Aside from wear and tear on the vehicle, stopping and having to start the engine again so many times makes it harder and a lot more time consuming to get your destination.
If you’ve ever been through the embarrassment of having to skedaddle over to your garbage bin to fish out the box you just discarded because you forgot how many eggs to add, that’s the ghost of non-existent mise en place haunting your endeavours. While you might be able to freestyle life itself, baking is an art that will NOT hesitate to humble you if you dishonour its meticulously laid out rules and standards. Yeah, it’s strict over here.
Once you get the rhythm of gathering, measuring, and arranging before you mix though, you’ll notice things like:
Faster overall baking flow
Fewer mistakes
More consistent and accurate-to-the-recipe bakes
The general and easy blueprint to mise en place
1. Before lifting a finger, read the recipe all the way through.
Yes, all of it. From preheating to storage.
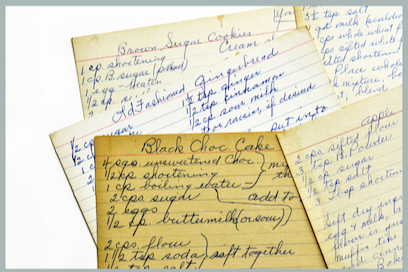
It also helps to have a physical copy of your recipe on hand
…or turn on the “attention aware” or reading mode feature on your device to keep the screen from going dark while you’re working.
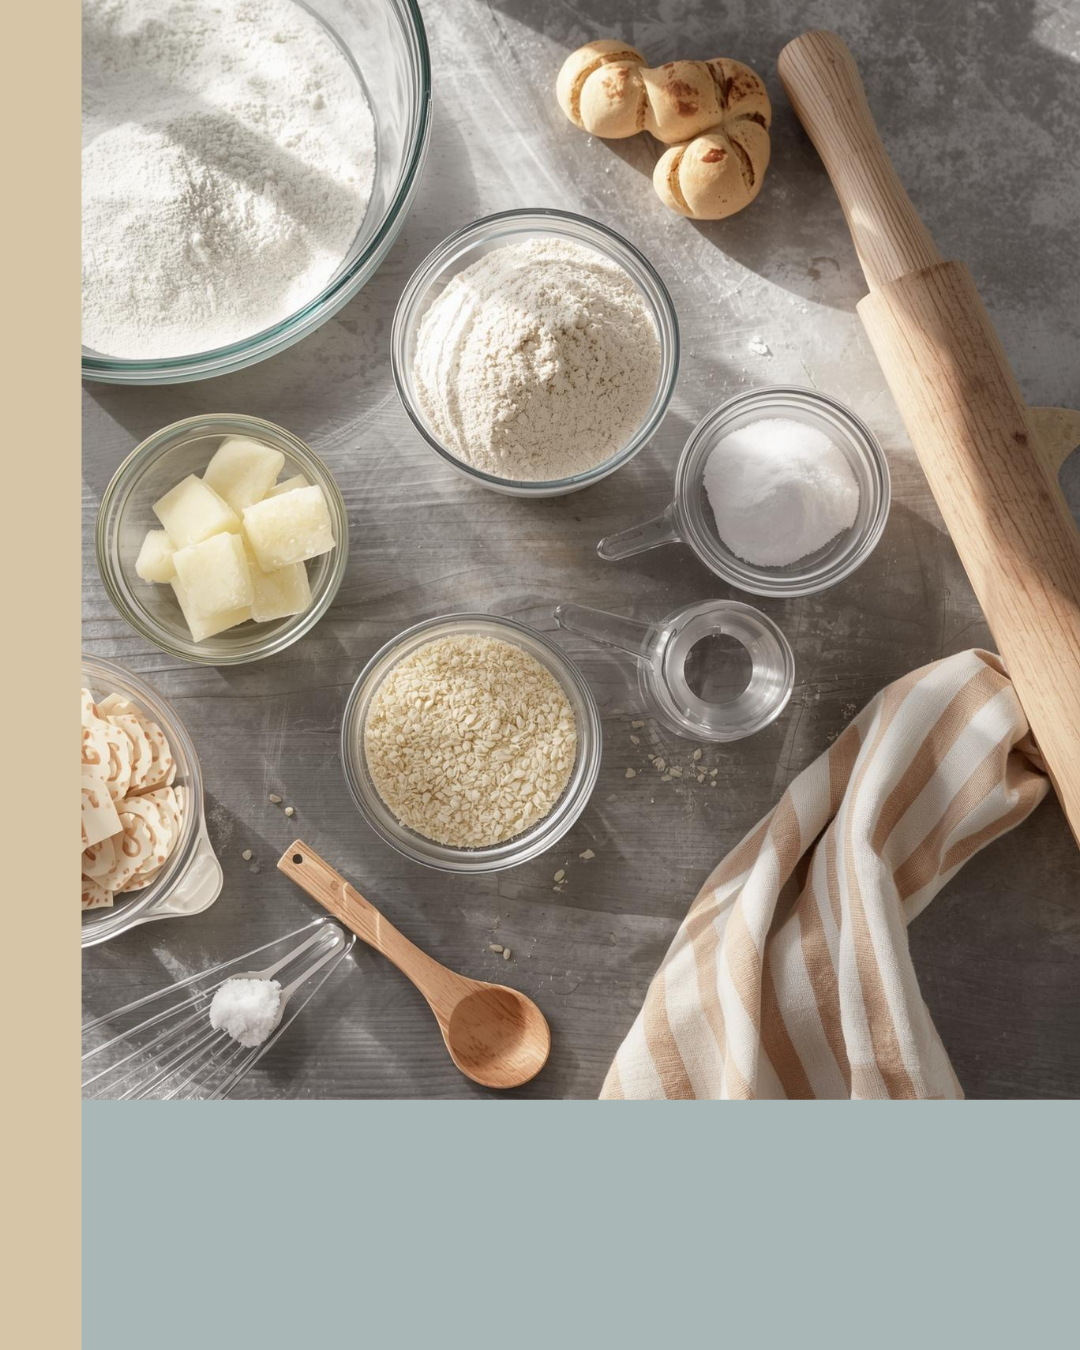
2. Gather your ingredients
Take everything the recipe calls for out of cupboards and fridge: Flour, sugar, eggs, leaveners, mix-ins etc. If it’s going into the recipe, take it out of storage. You can also use this time to prep items that need to be at room temperature (usually eggs and softened butter).
3. Measure before mixing
Put each ingredient in its own bowl or container. If two things go in together, you can pair them, just know when they need to make their appearance.
4. Prep your tools
Have your mixer, spatulas, measuring cups, scale, prep bowls and baking pans in easy reach.
One of my favourite inventions is this $35 6 bowl, stainless steel nesting set that has non-slip silicone bases. The non-slip base means that you can mix and fold with one hand or vigorously whisk ingredients without worrying about the bowl rattling all over your workspace. IYKYK!
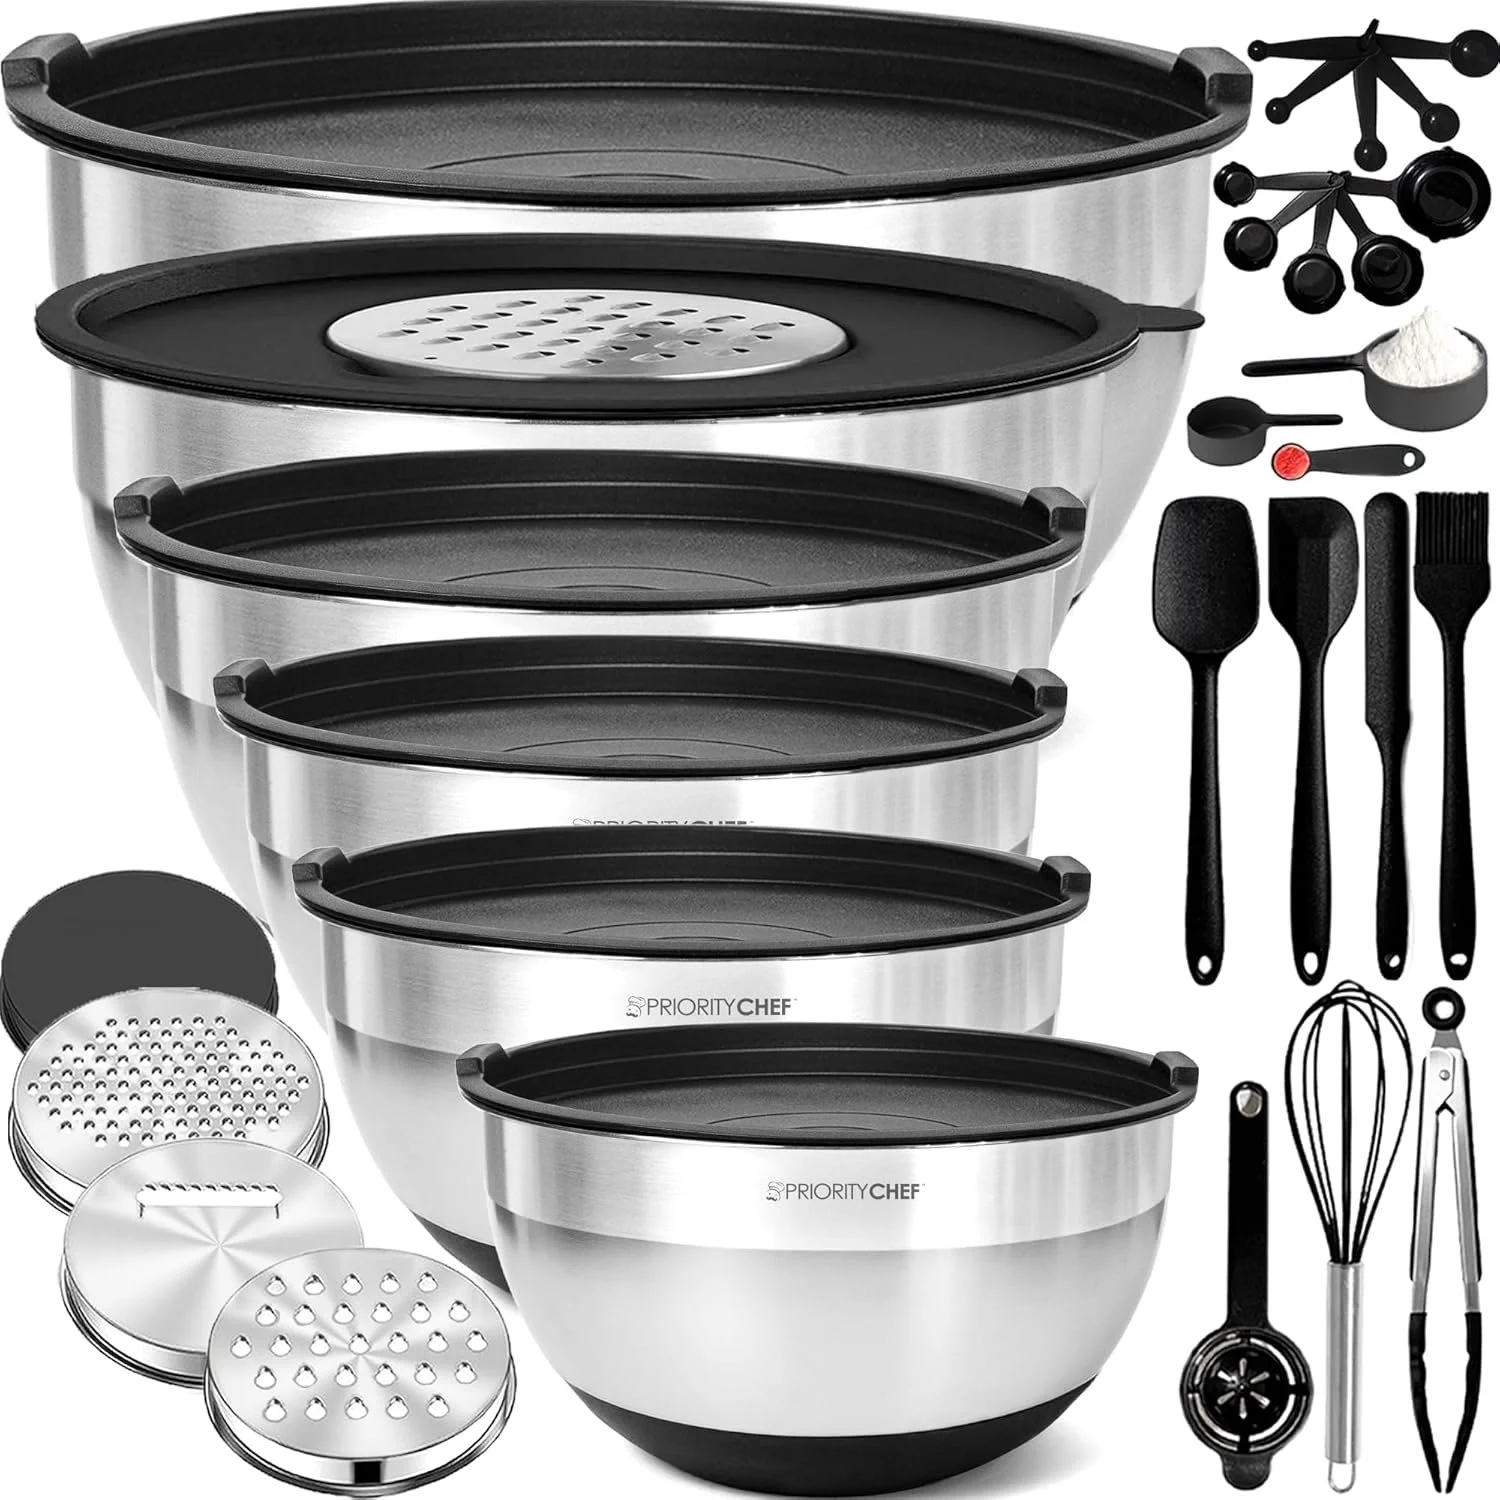
They also come with lids for storage and grater inserts.
Just remember not to use them to store anything acidic long term!
The set also includes a number of silicone spatulas and so many other thoughtful utensils that you can use for prepping.
Another tool I use constantly is not even called for in any particular recipe but always comes in clutch, and it’s a spoon rest/dublè. It keeps my utensils in one spot and prevents my counter from getting too messy. I especially find it useful when I’m working with grease/ sticky stuff and in baking, that’s quite often. This one from Zulay has multiple slots so you can keep multiple utensils separated.
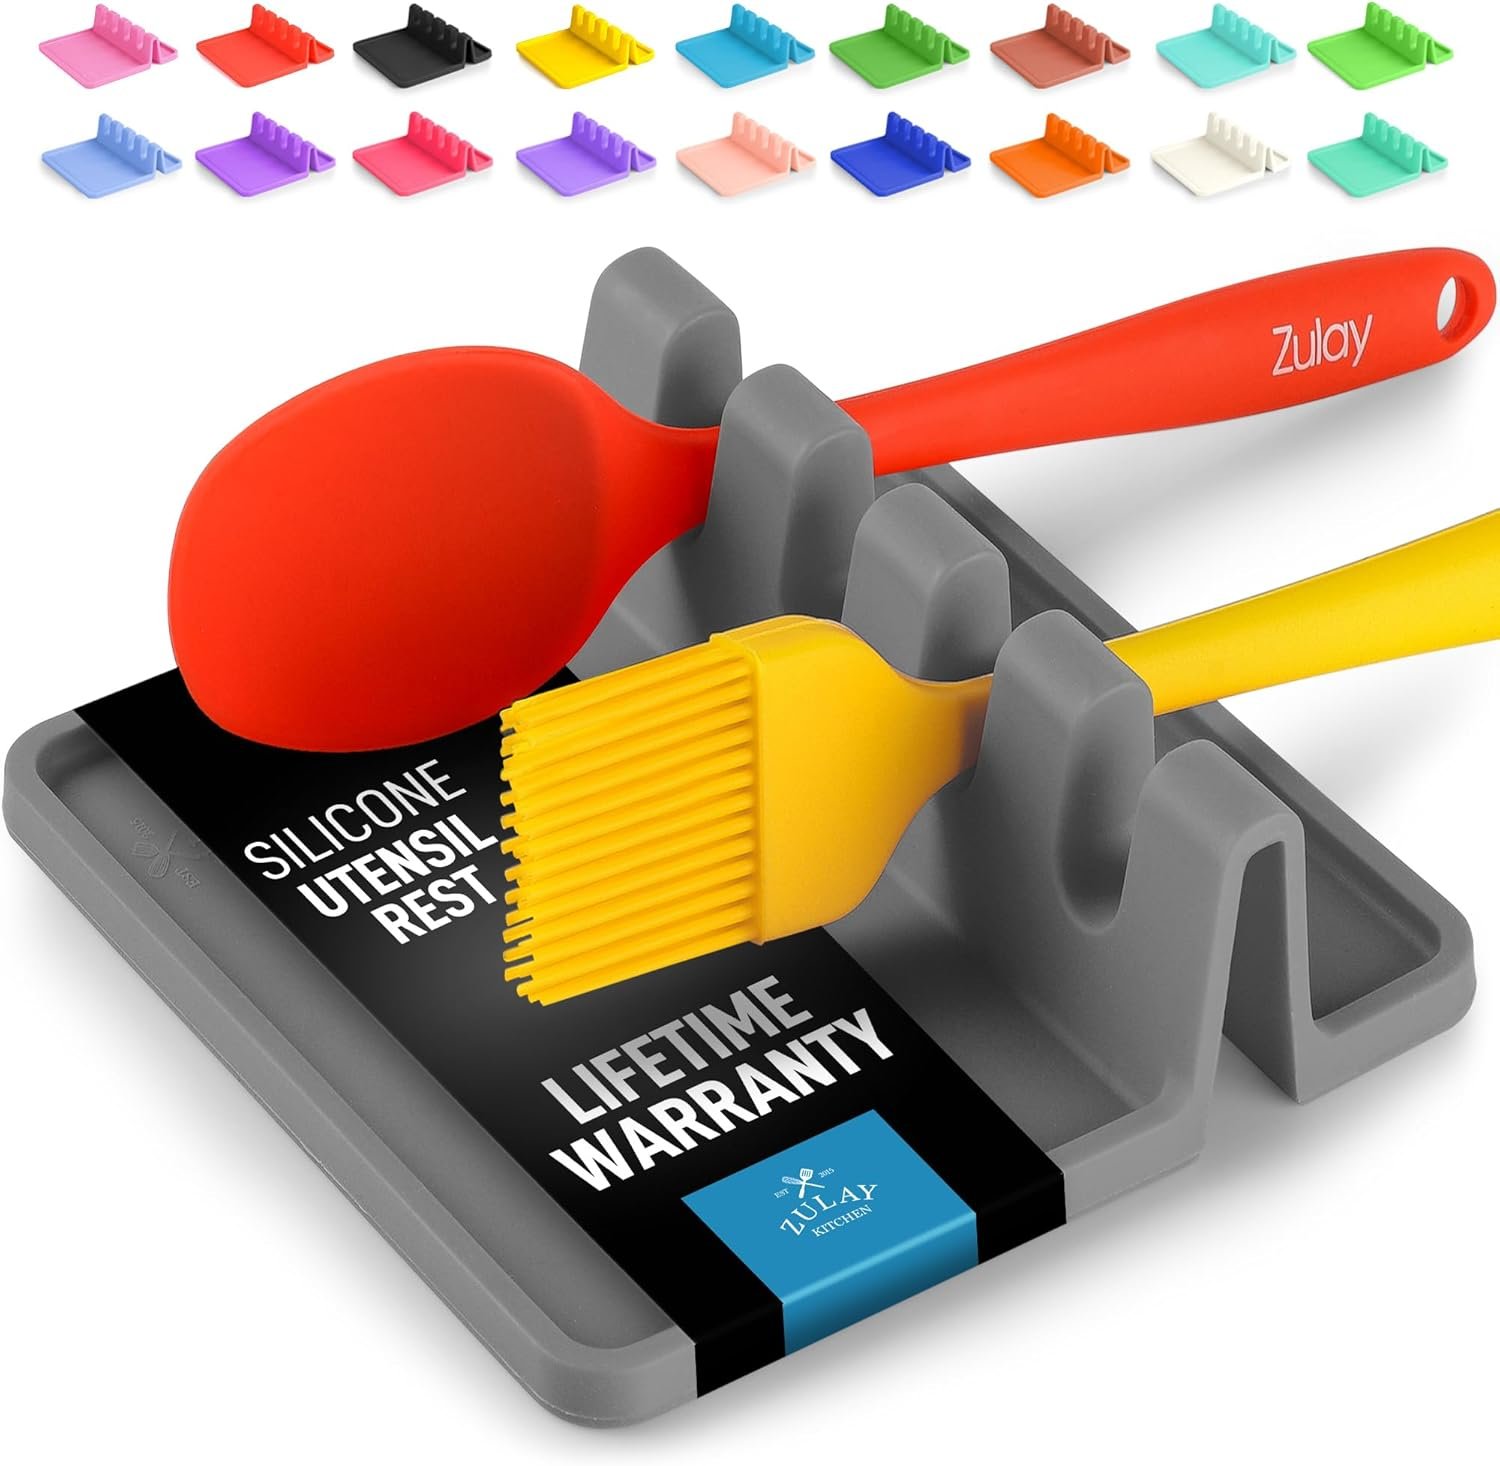
You’re guaranteed to find a colour you like here
5. Arrange/group by use
Line them up in the order they’ll hit the bowl. You can even use small sheet pans to group ingredients that go in at the same time.
6. Clear space, grease pans and preheat
Clean and sanitise your counter, make space (not only to lay out your ingredients but also to actively work and move around), preheat your oven and grease your pans if the recipe calls for it.
Between part 1 and this instalment, we’ve pretty much covered the essentials of proper preparation. If you really want to take it a step further though and increase your mise en place skills to championship level, read on for a few more equips that are not only functional, but cute as hell.

I will ride the pastel train until my last breath… Even then, I want a pastel urn.
Le creuset pinch bowl set - SUPER cute and comes in pastels, white and brights so there’s a colour scheme for everyone.
These $16 Small sheet pans to corral grouped ingredients
These little stylish but practical helpers make mise en place feel less like work and more like setting up your dream team.
Now you’re ready to start mixing and folding the proper way.